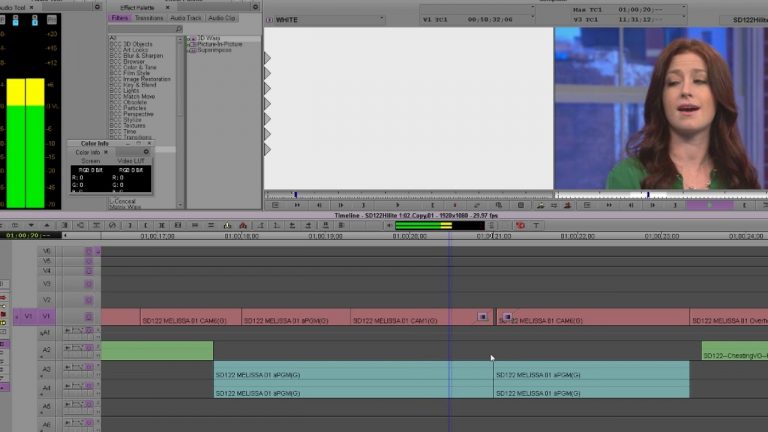
Best Way To Make Dips To Black and White Flashes in AVID
I’m going to talk out what I think is unconventional but the best way to do Dips to Black and White Flashes in AVID. Take the full online course at avidbeer.com Twitter — avidbeer

I’m going to talk out what I think is unconventional but the best way to do Dips to Black and White Flashes in AVID. Take the full online course at avidbeer.com Twitter — avidbeer
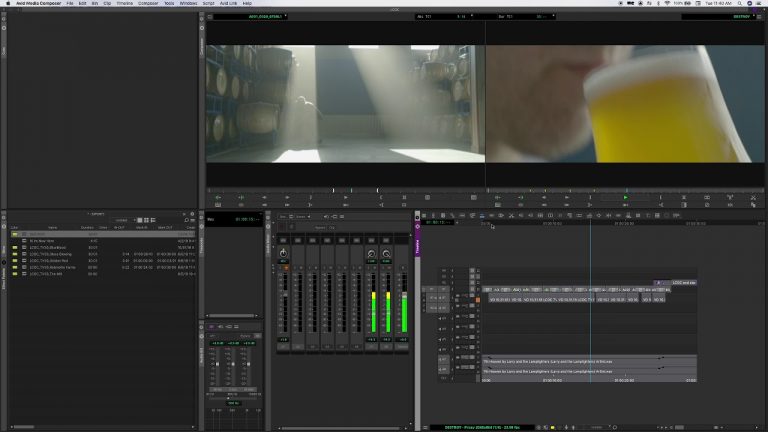
1:22 – Adding Markers1:57 – Volume2:51 – Limitation with cuts Whelp. Here’s my awesome tutorial on how to edit on the fly in the new Avid Media Composer. If you like watching good tutorials, leave now. ADDITIONAL NOTES: You can also Mute, Solo, and Show Waveform while it’s playing. If that matters to you.
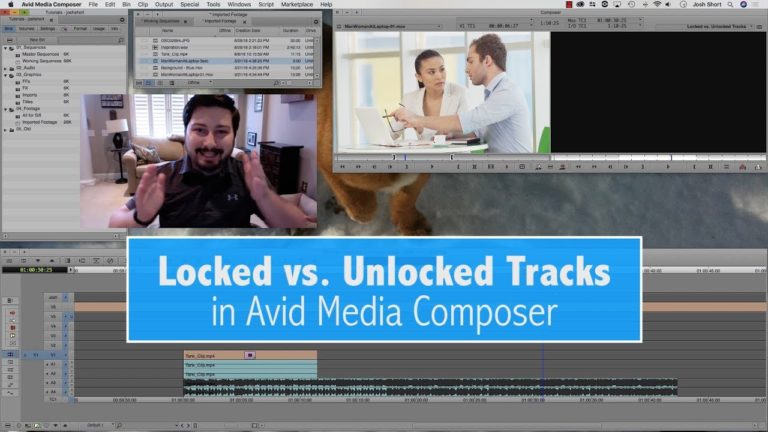
This video explains locked and unlocked tracks in Avid Media Composer. It is a companion tutorial for Lesson 4 of the Mastering Avid Media Composer’s Keyboard Shortcuts Series. Knowing this concept will keep you from knocking your clips out of sync.
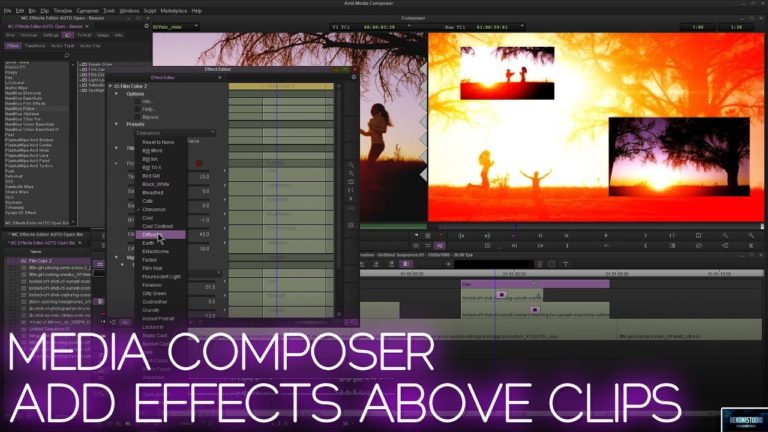
You don’t have to add effects directly on clips in Media Composer, there are many situations where placing an effect ABOVE a clip(s) is helpful or much quicker. In some situations, it is required, especially when you have a composite with many effects already applied directly to clips. This is a technique you must know!
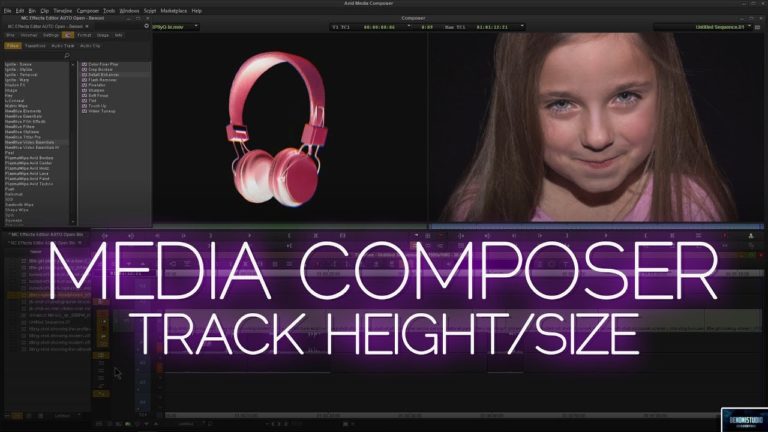
How to change the track height/size in Avid Media Composer. The quickest way is to use the keyboard shortcut; Ctrl+L for Enlarge and Ctrl+K for Reduce. (Command+L and Command+K on Mac). You can also find these commands in the EDIT menu. You must first select the tracks you want to alter.

Ever wish your source track automatically patched to the track you are working on? Watch this tutorial to see a quick way to auto-patch your source track to your active timeline track in Avid Media Composer! Software used: Media Composer 8.9.3 http://redarrowindustries.com/ https://www.facebook.com/RedArrowIndustries/

Ever wish your timeline monitor automatically updated to the track you are modifying? Watch this tutorial to see a quick way to auto-monitor your active timeline track in Avid Media Composer! Software used: Media Composer 8.9.3 http://redarrowindustries.com/ https://www.facebook.com/RedArrowIndustries/
This tutorial will explain the function of the link selection tool and how it can possibly speed up your editing in Avid Media Composer! Software used: Media Composer 8.5.3 http://redarrowindustries.com/ https://www.facebook.com/RedArrowIndustries/

Believe it or not, the Mark IN & OUT button in Avid Media Composer doesn’t serve only one purpose. Check out this tutorial to find out its other uses! Software used: Media Composer 8.5.3 https://redarrowindustries.com/ https://www.facebook.com/RedArrowIndustries/ https://twitter.com/redarrowindust
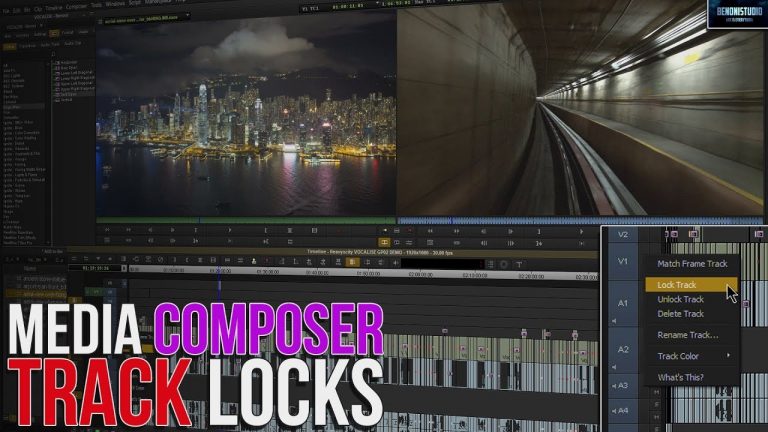
In this video we’ll look at how to lock tracks in Avid Media Composer so no editing can take place on those tracks. Track Locks are helpful to maintain an edit, to “lock it in”. When you lock a track, no further editing can take place on that track (or tracks), you can not even

In this lesson, Kevin P McAuliffe talks about moving clips around your timeline(s) by using the Smart Tools at the left of your timeline. He also talks about a powerful shortcut, the Extend Key, and why you’re going to want to have it mapped as a keyboard, or composer shortcut!
This tutorial will explain the differences between drop frame and non-drop frame in a 29.97 fps project; as well as, showing you a quick way to swap your sequence over to drop frame. Software used: Media Composer 8.5.3 WEBSITE: http://redarrowindustries.com/ FACEBOOK: https://www.facebook.com/RedArrowIndu…
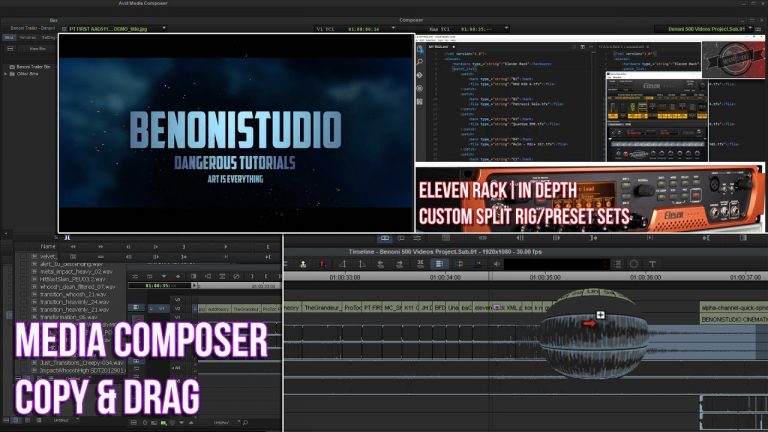
This video covers how to use copy and drag and gives some ideas on how you may want to use it. In Media Composer, select your clip(s), then press ALT (Option on Mac), and drag a copy of your clip(s) to anywhere you want on your timeline. This technique works to copy/duplicate video, audio, effects,
In this lesson, Kevin P McAuliffe talks about basic editing techniques in Avid Media Composer, and also talks about how you can create different timeline views, including Audio Waveform as well as Audio mixing views, to make mulit-tasking in your day to day work, as simple as possible! http://www.provideocoalition.com/kmcauliffe/
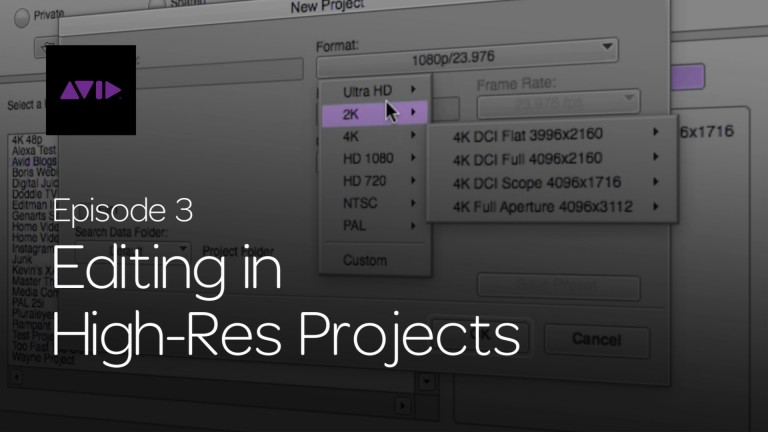
Welcome to the third episode of our 5-part tutorial series ‘Get Started Fast with Media Composer for High-Res Workflows’ on Avid Blogs. In this video, I will focus on editing in High Res projects specifically; starting with the concept of Color Encoding and FrameFlex adjustments, explaining how to use the Proxy Timeline, as well as

Hi, I’m the guy updating this site. I hope you enjoy it, and that it’s useful for you. I don’t make the videos here, but I do collect them and add it here, so you can find them.
If you enjoy this page, and you absolutely want to give something back for my work of collecting these, then here is my paypal.