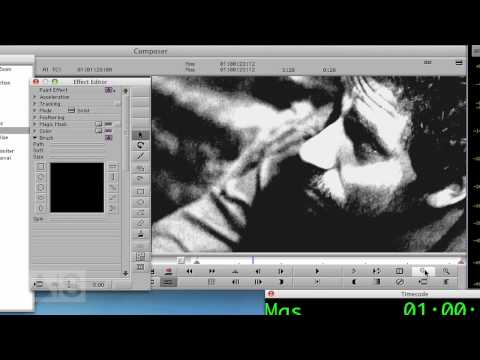
Episode Fourteen: Cheesy “How-To” Transitions Part One
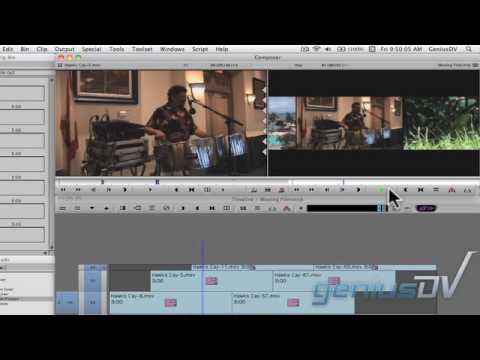
In this episode, we take the Animatte a couple of steps further and check out an effect used for introducing talent in a TV show
In this episode, we’ll continue our deep-dive into one of the most powerful and most-used effects in Avid: The Timewarp. We’ll cover the following basics in this episode: manipulating the Position Graph, rebuilding presets on your own, Default Render Settings. http://avidscreencast.com/asc21 Go to part 1 of the Timewarp tutorial
NOTE: I had to trim this video down because of Youtube length limitations. See the full episode at http://avidscreencast.com/asc20 In this episode, we’ll continue our deep-dive into one of the most powerful and most-used effects in Avid: The Timewarp. We’ll cover the following basics in this episode: manipulating the Position Graph, rebuilding presets on your
Create a transition that looks like a broken projector image flicker. http://www.avidscreencast.com/asc18
Check out how you can use the Avid Pan & Zoom plugin to preserve all the detail in your hi res graphics when using them in Media Composer.
Create a moving filmstrip effect for Avid Media Composer. This is a great lesson for using keyframes and compositing techniques. You can view the entire transcript of this Media Composer video tutorial by visiting: http://www.geniusdv.com/news_and_tutorials/2010/02/moving_filmstrip_effect_fo…
Use Avid Media Composer’s Marquee Title tool to create a sequence of 3D characters that fade up one at a time. You can view more information related to this Avid Media Composer’s Marquee tutorial by visiting:
So you have a bunch of subtitles or lower thirds to do. They all look the same, except for the contents. You’re not seriously considering doing them all by hand in Title Tool, are you? Enter Marquee’s Autotitler, which is here to make your life easy. Honestly, if you didn’t know about this one, you
Create a secondary color correction in Avid Media Composer. http://www.avidscreencast.com/asc16
Learn how to create the Pleasantville effect with Avid Media Composer using the SpetraMatte keyer.
Sometimes the good, old title with static text just doesn’t cut it. In this episode, we’ll make the text be another layer of video.
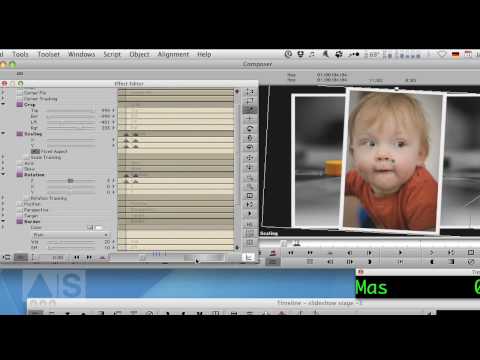
Create a visually interesting photo slideshow by stacking the photos on top of each other and animating them!
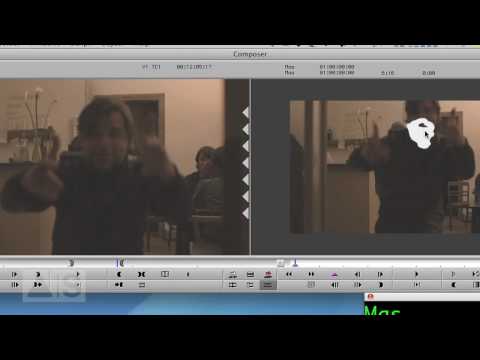
PLEASE NOTE: This is a special Christmas Episode, so… be prepared for that 🙂 Sometimes, you need to obscure the face of a person, be it for legal or aesthetic reasons. In this episode, we’ll do just that using a very special technique. Check out the blog entry for this week’s episode: http://avidscreencast.com/asc10
In this episode, we’ll create the Pleasantville Effect – everything is black-and-white except for one color – using a Spectramatte and an Animatte for creating a garbage matte. Check out the blog enry for this week’s episode: http://avidscreencast.com/asc05
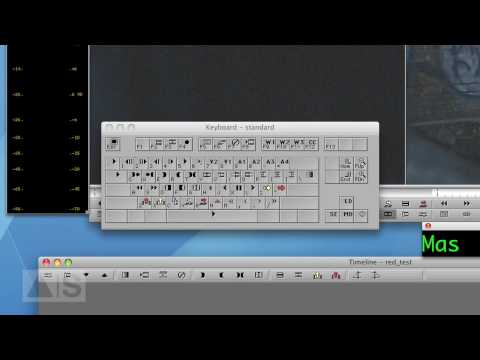
In this episode, I’ll show you how to remap your keyboard and give you a couple of ideas on what functions to map to it. If this does not make you at least 10% more productive, I’ll refund your money. Check out the blog enry for this week’s episode: http://avidscreencast.com/asc06
Hi, I’m the guy updating this site. I hope you enjoy it, and that it’s useful for you. I don’t make the videos here, but I do collect them and add it here, so you can find them.
If you enjoy this page, and you absolutely want to give something back for my work of collecting these, then here is my paypal.